Game Trailer Editing: A Beginner's Guide for Indie Devs
You've built a game. Now you need to convince strangers it's worth playing, and you have about 60 seconds of video to do it. No pressure.
TL;DR: Capture 3-5x more footage than you need at 1080p/60fps in OBS, drop your music track first and mark the beats, then cut gameplay to land exactly on those beats. DaVinci Resolve (free) handles everything. Plan for three weekends of focused work.
Key Takeaways
- Set OBS to CQP 16-18 rate control and record at 1080p or higher since quality source footage determines your trailer's ceiling
- Music first, footage second: drop the track, mark beats, then layer gameplay with cuts landing precisely on each beat
- Target 45-90 seconds total, never start with logos or slow fades, and ensure the first 5 seconds show your most compelling gameplay
- Export at 1920x1080, H.264 codec, 15,000-20,000 Kbps bitrate, AAC audio at 48KHz
- Watch your trailer on mute. If it's boring, fix the visuals. If it's not 50% more exciting with audio, fix the music choice
Trailer editing is one of those skills that looks deceptively simple from the outside. Cut some footage together, add music, export. In practice, the difference between a trailer that drives wishlists and one that gets scrolled past is measured in tiny decisions: which frame to cut on, where the bass drops, whether that title card stays for 2.5 seconds or 3. Our complete guide to trailers and screenshots covers the strategic thinking behind what makes a trailer work. This guide is about the hands-on craft of actually making one.
You don't need expensive software. You don't need years of video editing experience. You do need patience, a willingness to cut footage you love, and about three weekends of focused effort.
Capturing Footage Worth Editing
Before you touch an editor, you need raw material. And the quality of your raw footage determines the ceiling for your finished trailer. No amount of editing wizardry fixes blurry, stuttery, low-bitrate source video.
OBS Studio Settings for Trailer Capture
OBS Studio is free, open source, and used by basically everyone who captures game footage. The default settings are optimized for streaming, not for high-quality recording. You need to change them.
Open Settings > Output and switch the Output Mode to "Advanced." Under the Recording tab:
Encoder: Use your GPU's hardware encoder if available. NVIDIA NVENC (H.264) or AMD's AMF encoder. If you're on integrated graphics or an older GPU, x264 works but will eat CPU cycles.
Rate Control: Set to CQP (Constant Quantization Parameter) with a value of 16-18. Lower numbers mean higher quality and larger files. CQP 16 is visually lossless for most game footage. Don't use CBR for recording; that's a streaming setting.
Resolution: Record at your game's native resolution, minimum 1920x1080. If your hardware can handle it, record at 2560x1440 or 3840x2160. Higher resolution source footage gives you more flexibility in the edit, even if the final export is 1080p. You can crop, reframe, and zoom without turning your footage into a pixelated mess.
Framerate: 60fps. Even if your final trailer will be 30fps, capturing at 60 gives you smooth slow-motion options and makes fast action sequences look cleaner.
Format: MKV container (you can remux to MP4 later). MKV is safer because it doesn't corrupt the entire file if OBS crashes mid-recording. Remux from MKV to MP4 through File > Remux Recordings after you're done.
What to Capture
Record way more footage than you think you'll need. Three to five times more than your target trailer length, minimum. In practice, developers who've edited multiple trailers consistently report that having excess footage is the difference between finding the perfect cut and settling for "good enough." If you're making a 60-second trailer, capture at least five minutes of clean gameplay.
"Clean" means no debug UI, no placeholder art, no Discord notifications, no mouse cursor (unless your game uses one), and no frame drops. Close everything running in the background. Set your game to its most polished state. If certain areas have known visual bugs, avoid them.
Capture different content intentionally:
- Core gameplay from the normal player perspective
- Action highlights with the camera positioned for maximum drama
- Environmental beauty shots showing off your art direction
- Unique mechanics that differentiate your game
- Variety shots from different biomes, levels, or stages
Play through your game with the mindset of a cinematographer, not a player. You're looking for moments that read well on camera, not optimal strategy.
DaVinci Resolve: Your Free Editing Suite
DaVinci Resolve's free version is a professional-grade video editor that handles everything a game trailer needs. The paid version (DaVinci Resolve Studio) adds features you won't use for trailers, like HDR grading and AI tools. Save your money.
Download it from Blackmagic Design's website. It runs on Windows, Mac, and Linux.
First-Time Setup
When you first open Resolve, you'll see a project manager. Create a new project. Before importing anything, go to the gear icon (Project Settings) in the bottom right:
- Timeline Resolution: 1920x1080 (or match your capture resolution)
- Timeline Frame Rate: 30 or 60fps (match your intended output)
- Playback Frame Rate: Same as timeline frame rate
These need to be set before you start editing. Changing them later can cause headaches.
The Resolve Workflow in Five Steps
Resolve has multiple "pages" along the bottom of the interface. For a game trailer, you'll primarily use three:
1. Media Page: Import your footage. Drag your video files and music into the Media Pool. Resolve reads almost every format, so your OBS recordings should import without issues.
2. Edit Page: This is where you spend 90% of your time. The Edit page has your Media Pool (top left), a Source Viewer (top left, toggled), a Timeline Viewer (top right), and the Timeline itself (bottom half).
Drag clips from the Media Pool onto the timeline. Cut them with the blade tool (B key). Move them with the selection tool (A key). Delete sections by selecting and pressing Delete. That's genuinely 80% of editing.
3. Deliver Page: Export your finished trailer. We'll cover export settings later.
Essential Editing Shortcuts
Learn these five and you can edit a trailer:
- B: Blade tool (cuts the clip at the playhead position)
- A: Selection tool (moves and selects clips)
- J, K, L: Reverse, pause, forward playback. Press L multiple times for faster playback.
- I and O: Set In and Out points on a clip in the source viewer before dropping it on the timeline
- Ctrl+Z / Cmd+Z: Undo. Your most important shortcut. You will use this constantly.
Building Your First Timeline
Start with music. Seriously. Drop your music track onto the timeline first. The music defines the pacing, the energy, and the cut points for everything else. What professional trailer editors consistently emphasize is that this order matters—developers who try to find music for existing cuts almost always end up re-editing from scratch. Editing footage and then trying to find music that fits is backwards. It's like trying to choreograph a dance after the dancer has already performed.
With your music on the timeline, listen to it two or three times. Identify the beats, the transitions, the builds, and the drops. Place markers (press M) on each major beat. These markers become your cut points.
Now start layering footage. Drop your opening shot, your hook, onto the video track above the music. Trim it to land on your first marker. Drop the next shot. Trim to the next marker. Work through the trailer beat by beat.
This is a genuinely enjoyable process once you get the rhythm. Each cut lands on a beat. The footage changes with the music. The whole thing starts to feel like it has a pulse.
Music and Sound: Half the Trailer
Mute your trailer and watch it. If it's boring, your footage needs work. Unmute it. If it doesn't feel dramatically better, your music choice needs work. Both things can be true simultaneously.
Finding the Right Track
Your music sets the emotional tone for the entire trailer. A mismatch between audio and visual tone is one of the fastest ways to make a trailer feel amateur. Cozy farming games with epic orchestral battle themes. Horror games with upbeat electronic music. These combinations confuse viewers, and confused viewers don't wishlist.
Royalty-free music services (paid):
- Epidemic Sound ($13/month): Massive library, solid search, covers commercial use including game trailers
- Artlist ($10/month): Slightly smaller library but high quality across the board
- Musicbed ($10/month): More curated, tends toward cinematic and emotional tracks
Free options:
- Incompetech (Kevin MacLeod's library): Free with attribution. Some tracks are genuinely great. Many have been used in so many YouTube videos that they'll sound familiar, which can work for or against you.
- Freesound.org: Better for sound effects than music tracks, but useful for layering ambient audio
- Your game's original soundtrack: If your game has one, this is the most authentic choice. It previews the audio experience and creates cohesion between the trailer and the game itself.
Licensing matters. If you use a copyrighted track, your trailer will get muted or pulled on YouTube. Content ID is merciless and doesn't care about your feelings or your launch timeline. Always verify the license covers "commercial use" and "video/trailer" specifically.
Sound Effects and Audio Layering
Music alone isn't enough. Adding game sound effects on top of the music track gives your trailer texture and makes the gameplay feel real rather than like a silent film with a soundtrack.
Layer in sword hits, spell effects, UI sounds, and ambient noise from your game. Keep them subtle, mixed below the music, but present. The viewer should feel the gameplay, not just see it.
In Resolve, put your music on Audio Track 1 and sound effects on Audio Track 2. Use the track mixer (click "Mixer" in the top right of the Edit page) to balance levels. Music should be the dominant element. Effects add flavor.
Pacing and Rhythm: The Secret Sauce
Good trailer pacing follows a simple arc: start strong, build energy, peak, resolve. The specific rhythm depends on your genre and your music, but the principle is universal.
Cuts to Beats
Every major visual cut should land on a musical beat. Not approximately. Not "close enough." Exactly on the beat. This is the single most impactful editing technique you can learn, and it separates amateur trailers from professional ones instantly.
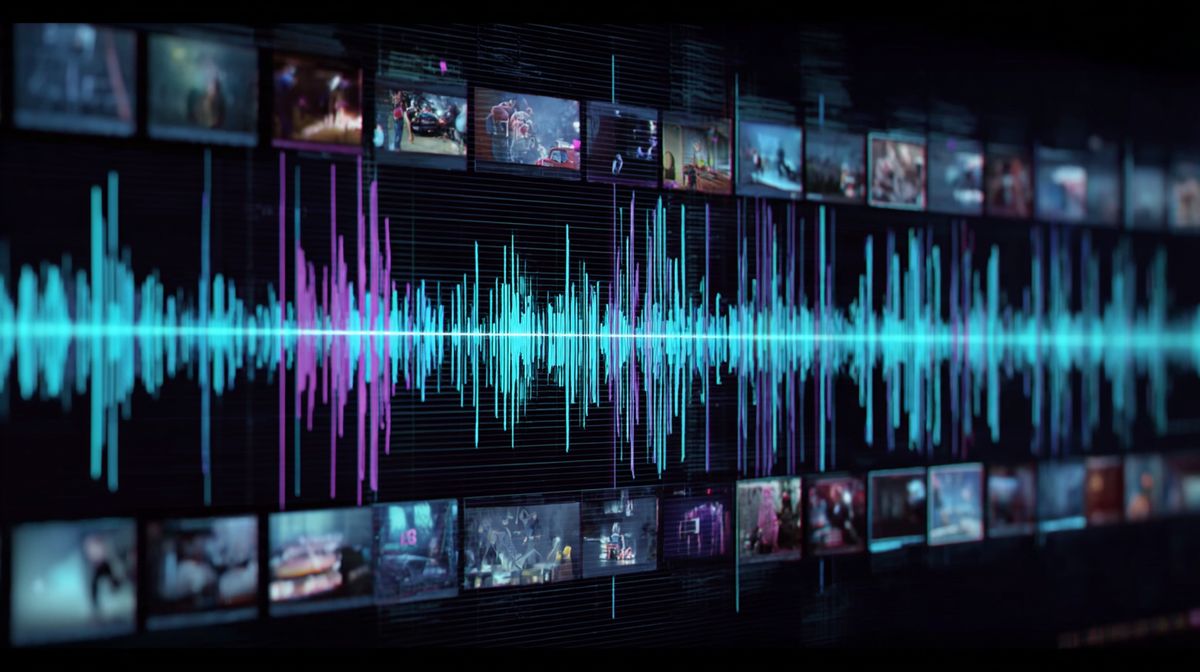
In Resolve, zoom into your timeline until you can see individual frames. Use the left and right arrow keys to move frame by frame. Find the exact frame where the drum hits or the note changes. That's your cut point.
The Dead Cells trailer is a masterclass in this. Every biome transition, every weapon swap, every boss reveal lands precisely on a drum hit. Watch it. Then watch it again with the audio visualizer in Resolve and see how the cuts align with the waveform peaks.
Shot Duration and Energy
Early in your trailer, shots can breathe a little. Two to four seconds each. You're establishing the game, giving the viewer time to understand what they're seeing.
As the trailer progresses, shots should get shorter. Two seconds. Then one and a half. Then one. By the escalation section, you're cutting every half second, flashing through content with the energy of a flipbook. The viewer can't process every frame, and that's the point. They're feeling the variety and energy, not cataloging features.
Then the final shot before your end card should hold. Three to four seconds of your most impressive visual moment, letting the energy settle before the logo and release date appear. Like the moment of silence after the final boss goes down, right before the victory fanfare kicks in.
Transitions
For game trailers: use hard cuts. Almost exclusively.
Dissolves, wipes, star transitions, and every other transition in Resolve's Effects Library exist for other types of video. Game trailers live and die on sharp, clean cuts that land on beats. A dissolve between two gameplay clips looks indecisive. A hard cut looks confident.
The only exception: a fade from black at the very beginning (if you're opening with a brief mood-setting moment before the hook) and a fade to black before the end card. Everything in between should cut.